I went crazy at the farmer's market! First time I've been in a couple weeks. I always forget how great their selection is!Today I am making homemade. salsa:) First, I rough chopped 4 cups of tomatoes. This was about 3 large tomatoes.
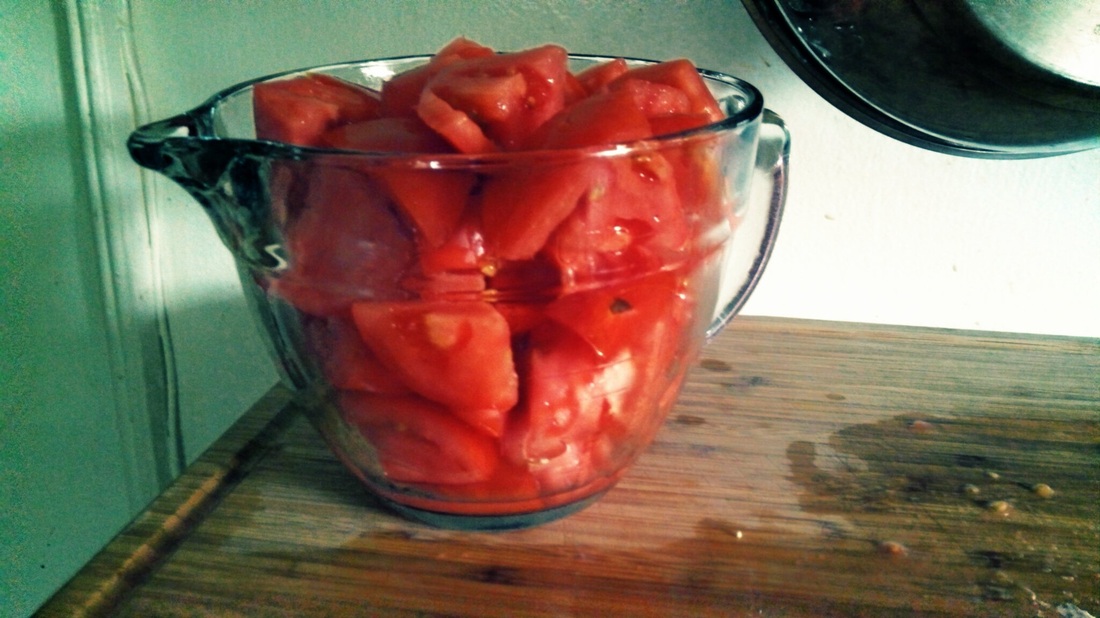
rough chopped tomatoes
Next, I diced 2 cups of sweet southern onions.
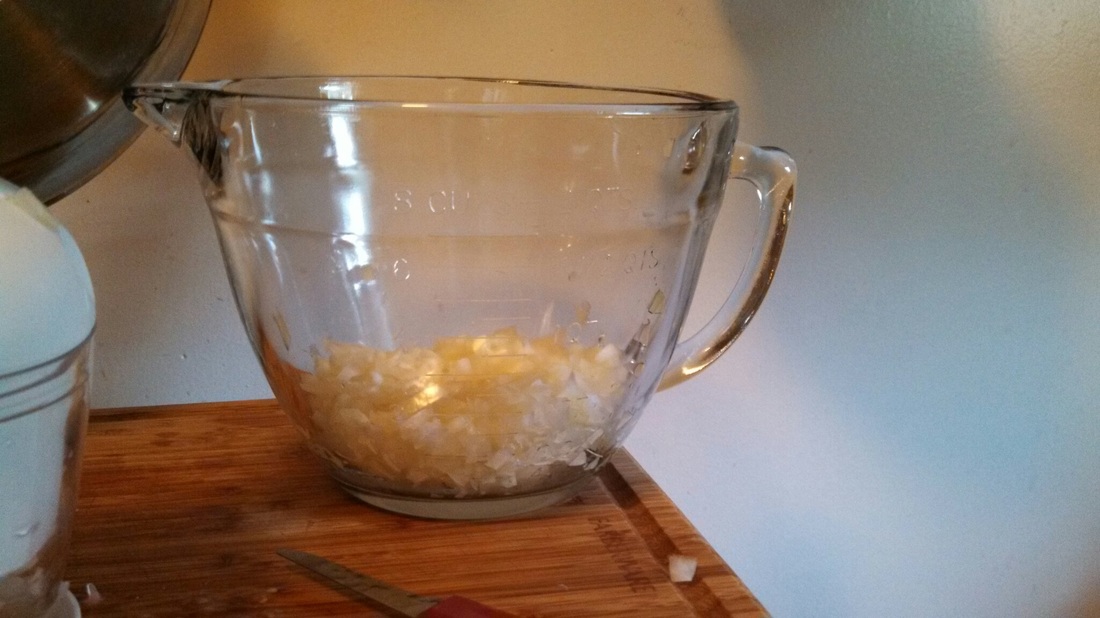
diced onion, 2 cups
I didn't want the salsa to be too mild, so I de-seeded and diced 2 jalapeños. I also diced one medium sized red pepper for flavor. I just added these on top of my onions since it isn't an exact measurement.
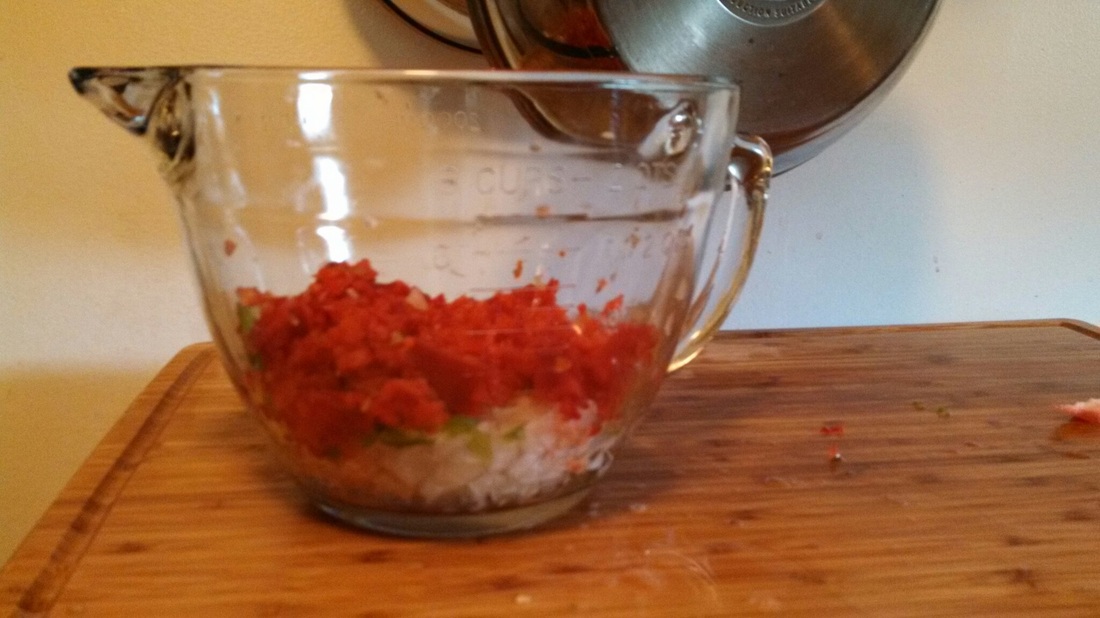
diced onion, jalapeño and red peppers
I went and picked cilantro from our garden. I paired this with red pepper flakes, garlic, salt and pepper, the juice of 2 limes and 1/2 cup of apple cider vinegar. I had a taste test after I simmered it on the stove for about 2 hours. It was perfect! I hot-water canned our salsa to use when we get the winter blues:)
This recipe yielded about 4 jam jars.
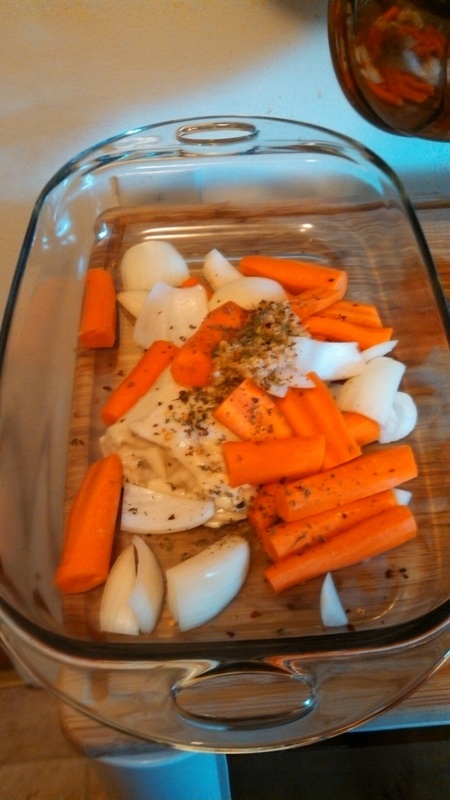
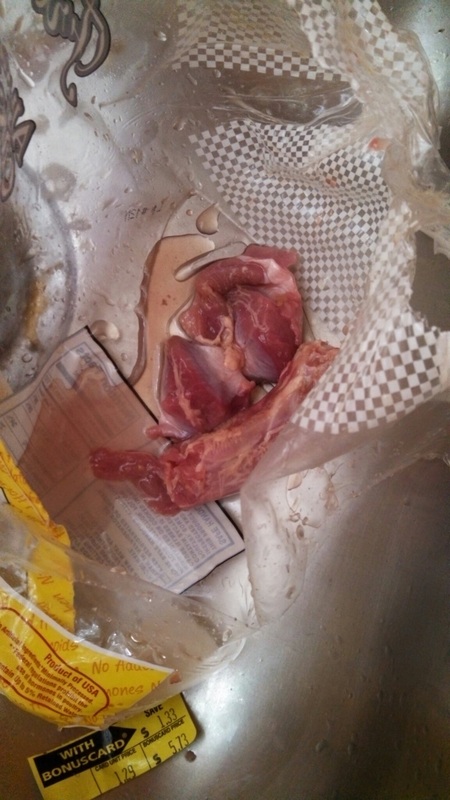
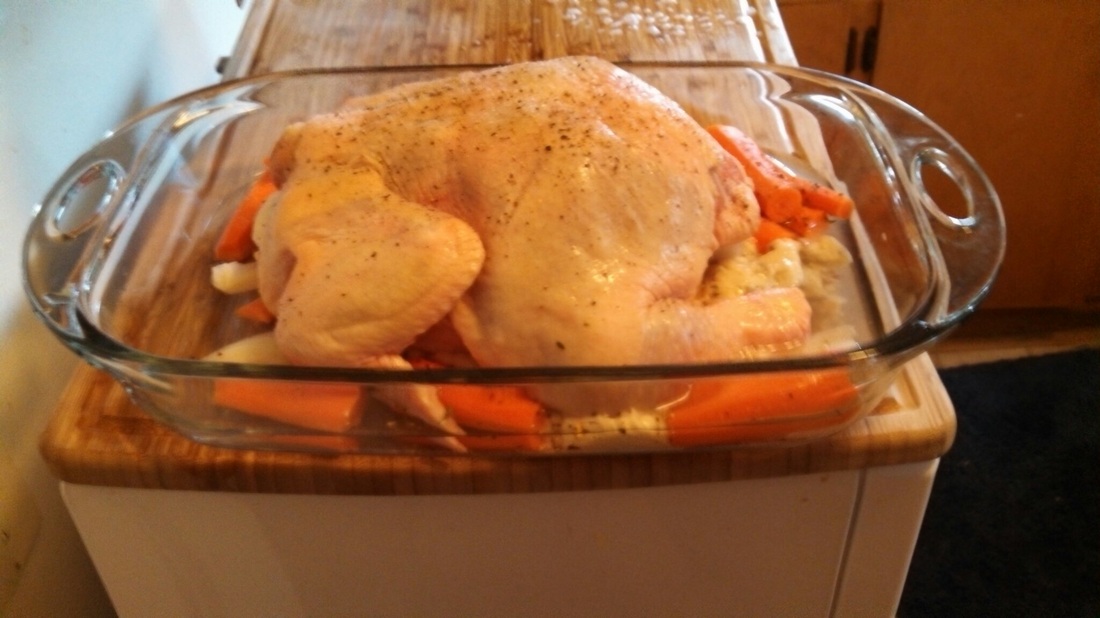
I've been making a variation of this recipe since I was about 9 years old. Its a fool proof recipe that anyone can make and everyone will love!I started with a can of cream of mushroom soup. I know this isn't the healthiest thing to cook with, but it makes one heck of a gravy! I peeled and rough chopped some carrots. I also added chunks of onion and one tablespoon of garlic. I topped it off with a teaspoon of red pepper flakes; just to add a little spice. The next thing to do, is to get your chicken ready. I always rinse my whole chickens, just out of habit. Also, make sure to check for the neck and gizzards. I hate to admit, I've forgotten these before and cooked them in a Turkey (yes, at Thanksgiving!). Every now and then, I will rubbed down my birds with butter or buy an injection kit of spices. However, today, I kept it very simple and just added salt and pepper. I cooked my chicken with the breasts facing down. My theory was that all of the amazing juices would flow down. My husband was slightly upset that he didn't have crunchy chicken skin. Anyways, we then put the chicken in the oven at 300° for an hour. After the hour, we took the chicken out, covered it in foil and cooked it for another hour and a half.
When we started getting our side dishes ready, we uncovered the chicken. This gave it time to crisp up the exposed skin. It turned a beautiful brown! We set the bird to the side to cool before carving. This gave me time to work my magic on the gravy!
I scooped the carrot and onion chunks out and set them aside. Baked carrots are our absolute favorite vegetable! I grabbed a pint sized mason jar and added about half a cup of hot chicken drippings. I measured 1/4 cup of corn starch to add into this jar; screwed on the lid and shook it like crazy. I think this is the easiest way to avoid lumps. I poured this back with the other drippings and stirred it all together. Perfect gravy! (the cream of mushroom soup helps tie it all together)
July 1, 2013With vacation quickly approaching and our vacation fund almost empty from this past month's family emergency, we have decided to do a No Spend Month. Besides our monthly bills, we are aiming to spend less than $500 on groceries, fuel and luxuries (the hubby smokes). With this attempt, I'm hoping to empty our cupboards a little, get some extra ( DEEP) cleaning done around our home, compare our monthly utilities to make sure we aren't over paying for any services, look into other ways we can save money daily ( DIY and homemade money savers) and spend some quality time with our three wonderful dogs. The balance available to spend should also help us restrict our dinning out. One day, I dream of only going out to eat on special occasions. Right now, its way too close to being incorporated in our everyday life. The busier we get with work (my husband and his father run a busy bike rental company, Reedy Rides ) and social obligations, the easier it is for us to slip up and head out. If we have a medical emergency, if we need work related items or if we have an automotive issue, I'm not including that into our $500 budget. I want to save money but not at the cost of our health, our jobs or potentially putting off something that may worsen (car maintenance) and in the end cost even more.I am planning on posting weekly updates on how we do on our budget for No Spend July :) Right now, I'm afraid I've spent too much on groceries and I'm praying it'll last us! There was a amazing deal on meat at the grocery store. My sale-thriving heart just couldn't pass it up! Buy one, get one free chicken breast AND buy one, get one free Boston butts! Can you say Homemade BBQ Pulled Pork in the Crock Pot?!? With Homemade Cole Slaw and baked beans?! Just in time for 4th of July and at an awesome discount!Do you have a favorite free date? How do you and yours save extra money?When is it easiest for you to save money?What makes it hardest for you to save money?Feel free to comment below July 7, 2013 Seven days into No Spend July! July 1st we splurged huge on groceries. We spent $70 instead of the $35 I had budgeted. When we did that, consciously, we had stocked up a ton of meat in the freezer that we haven't even thought of touching yet! I just completed the shopping for this week. We accomplished some cleaning that was put off for some time and have definitely spent more time with our fur babies. This coming weeks worth of groceries cost us $29. We spent that on produce, lunch meat, bread, milk, cookies for my hubby since last week we made them from scratch (Cookies are his thing! Oreos, especially! He has to have cookies nearly everyday:) and I don't knock it because he's in better shape than anyone I know! And I love to spoil him). I believe we still have some frozen cookie dough left too! I can actually see part of the shelves in our pantry! I think where we went wrong on our pantry overload is that we had an extra stock of groceries from before we switched to meal planning. In January, we made a bold move and started meal planning to try to cut out processed foods and help my food allergies be narrowed down and eventually eliminated. When we made the switch, we still had a pantry full of impulse buys. Usually, when I had time to make the meal plan and grocery list, I was at work and unaware of what we had left in the cupboards. This would cause me to over buy, mostly the same items. Others may refer to this as stocking up, but when you live in a 800 square foot house with your hubby and 3 energetic dogs. Ain't no one got room for that! I am sure glad to see the food be enjoyed.The first week of no retail therapy (a.k.a. shopping) was pretty tough. I am usually a sale and clearance shopper. My best friend has told me all about what I've missed. I am past the shopping for frivolous things and I don't believe my clothing are "in style" anymore (in a recent visit home my kid sister informed me that I am a hipster.. I said what do you mean? These are my grown up clothes!) However, being a newlywed there are a ton of things our house is lacking; as well as things that we've had since our very first apartments that are barely hanging in there. On top of fighting that urge, a new incredible store has opened right next door to my work. Pure torture! (must use self control!) It is filled with spices from around the world, loose teas, flavored sugars, meat rubs, and flavored salts to cook and bake with! I'm going to include their link on this article because some of you aren't currently involved in a no spend month! (I'm living vicariously through you!) The Tea and Spice Exchange I believe they have 35 stores and still growing! They are all owned by the same couple. If i remember correctly, their names are Bill and Judy, but my memory sometimes escapes me. I had met them while they were doing the renovations for this store. We couldn't have picked a better set of neighbors! If there isn't a store near you, you can order online! I will be using these spices or blends in the recipes that I post later. This week we noticed our dish soap dispenser is leaking. Something I would normally notice and fix or replace.. this time is not able to be fixed.. (We have been buying dish soap on bulk at Costco and filling the dispenser as needed. We don't have a dishwasher so this dispenser is a major part of cleaning the kitchen and everyday life.) My husband has mentioned almost everyday how we need to find a replacement. I've been reminding him we are on a strict budget! Tonight, I laughed and replied, "Do you know what would happen if I told that young boy I was dating two years ago what you just said?" He kinda smiled and laughed and asked "What have you done to me??" On the plus side, our savings account is starting to look great! Instead of using retail therapy, I have been cleaning and reorganizing the kitchen! My best friend is going to be getting a ton of hand me downs for her first home! I also had the time to Clean the Oven, which was way overdue. I found a recipe on Pinterest (I'll share the dirty, and I mean DIRTY details here). My husband and I both had spent a few extra hours at work this past week, which, in turn, will be put back into our savings instead of the usual impulse buys. I had the time to compare a few of our monthly bills against competitors to make sure we are getting the most bang for our buck. And I have been happy with those results. I had found a few homemade recipes to add to my Money Savers Collection. This fall, look for new posts featuring homemade applesauce, crock pot apple butter, no-fail apple pie, DIY candles and if I'm extra gutsy, maybe I'll even attempt some handmade soaps! One week into No Spend July and I am pretty thankful on our decision to give it a shot:) I still don't think it has taken much of a toll on my hubby, he is still happy as a lark, well except for the dish soap dispenser! (I found a DIY Mason Jar Soap Dispenser I am planning on attempting to make! Have to double check that we have the right supplies!)This week we budgeted a little extra cash for our day off. We have planned since April, to take a drive up to the mountains and go tubing down Green River. Last year we visited in April, the water was bone chilling! Took my breath away! This year we planned a bit better, or so we hope! We plan to pack a cooler of sandwiches, snacks and bottled water. Just take the day, drive up the scenic route and lazily float down the river. Catch some rays, have a no fuss lunch and a day off the grid, no electronics. We just so happen to have scored 50% off coupons for each person that goes too! If we can gather some friends and carpool we will be all set! Be sure to check back next week for an update on retail therapy, cleaning and organizing, budgeting groceries and new recipe ideas! What are your favorite fall recipes and traditions? I'd love to hear from you! Feel free to comment below July 17, 2013 I went grocery shopping on Monday. I didn't need to get much of anything so I got to splurge on a few things! I spent $29 in total. I got milk, snacks and a few side dishes for dinners. I went a little extra crazy and spent $13 on strawberries, lemons and sugar. I made Strawberry Preserves for the first time! They came out exquisite! This past week, I've kept busy! I made our new soap dispenser ! This turned out being a lot easier than I had anticipated. I also tried making strawberry preserves. I made some pasta sauce from scratch. All the made from scratch cooking tastes so much better! I'd rather spend the time and not the money:)
In pursuit of being healthy and trying to stay green, canning seems like the fool proof option!I have been putting off canning for about 2 years now. Mostly, afraid of failing miserably. When we got down to the last spoonful of strawberry jelly AND strawberries were on sale, I took it as a sign to attempt canning. The hardest thing was figuring out which way was the 'right' way to can. Every thing I've read was slightly different and sworn by. I picked bits from each story and found my own way.First, I got 12 lids and jars together and clean. I started my canning concoction. I took all the metal lids and started them in a soup pan with water to warm them but making sure they never came to a boil. I started a large stock pot on the stove with a decent amount of water. Next, I warmed all of the jars. I've read that the most common cause of a cracked jar is putting hot food into a room temperature jar. I used a canning funnel to fill all of the jars to the water fill line. I had an extra little bit so I put them in a jar and into the fridge for immediate use. Then I used the magnetic lid lifter to place the metal lids on the jars. I tightened the lids as tight as a normal jar. Once this was done, I nervously placed them into my stock pot of pre-warmed water. I let these boil for about ten to fifteen minutes. I used the jar-grabber to get them out of the water and set them on the counter to cool. Within five minutes I could hear the seals popping closed. I was happier than a kid at Christmas!
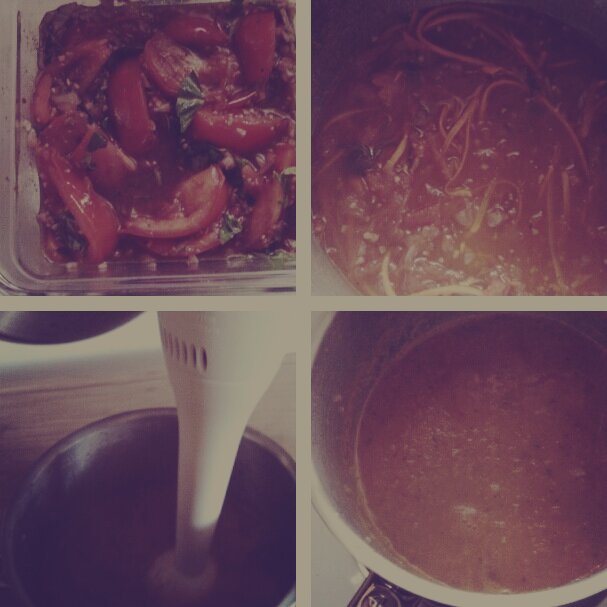
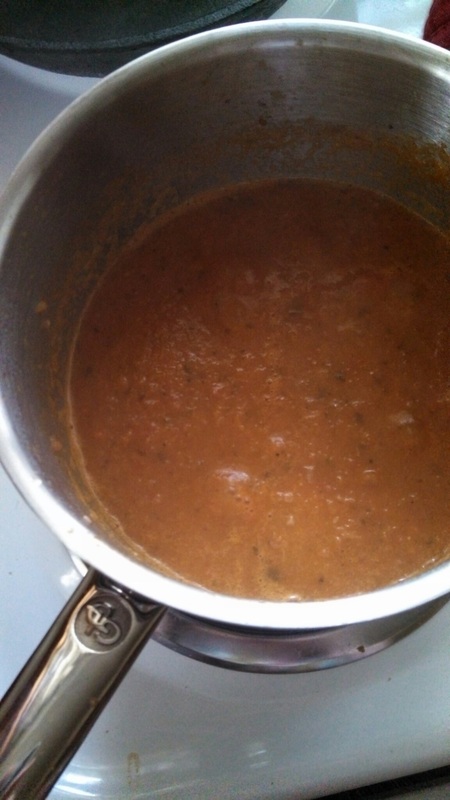
Easy homemade pasta sauce
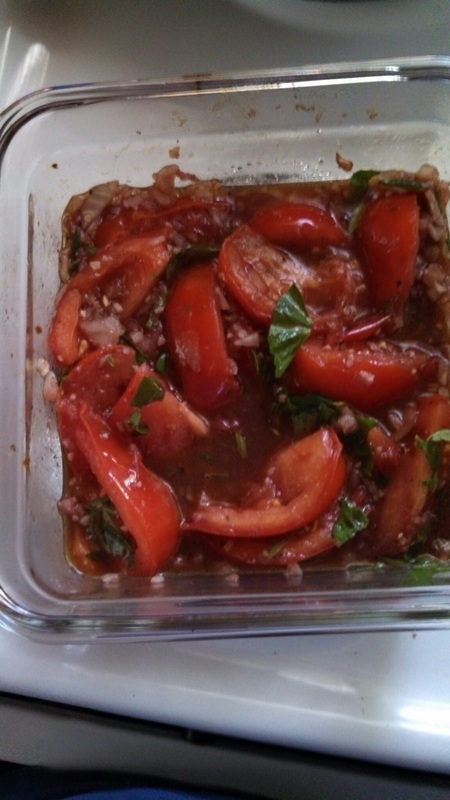
Last week, I bought too many tomatoes. This makes the perfect opportunity to make homemade tomato sauce!I started early this morning. First, I wedged the tomatoes. Two of us are eating dinner, so I only used 2 whole tomatoes. I also diced up about 1/4 cup of white onion. I placed the tomatoes and onions in an oven safe baking dish. Next, I spooned out about a teaspoon of garlic. I poured about 1/4 cup of olive oil over the top of my veggies and lightly tossed the mixture.
Next, I poured about 1/4 cup of red cooking wine into my oven safe container and placed the seasoned tomatoes in the oven to roast. I roasted the tomatoes at 375° for about an hour. While the tomatoes were in the oven, I went outside and picked fresh basil and rosemary from the garden. I grabbed about 3 large basil leaves and 1 sprig of rosemary. I washed and chopped the herbs.
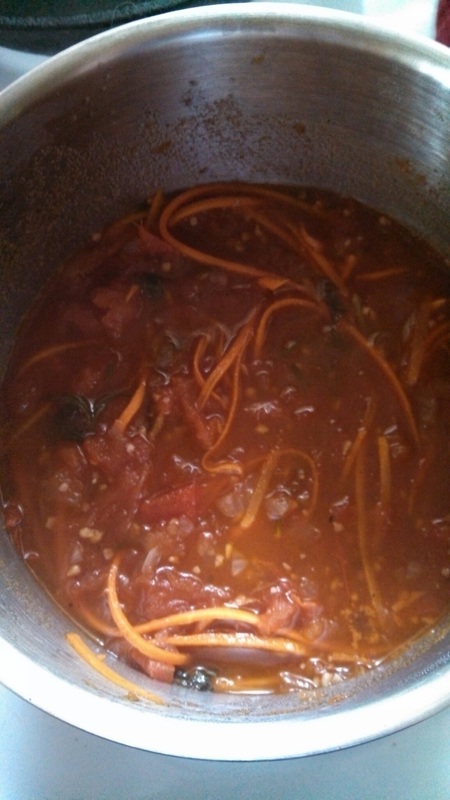
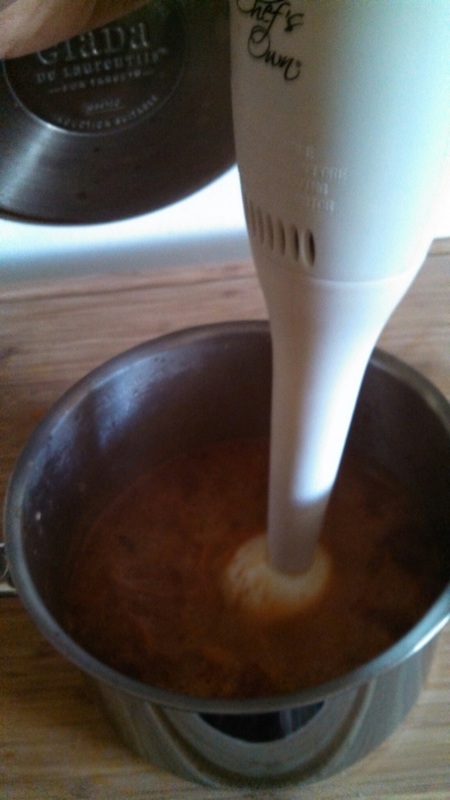
I transferred the tomatoes into a sauce pan and added the herbs. I placed the saucepan on the stove on medium heat, enough to start a small boil. Now, its time for the taste test! My sauce was very acidic. I added 1 tablespoon of vodka and 1 tablespoon of sugar. This helped cut that acidic taste. I also julienned 1 whole carrot and added this to the saucepan. I simmered the sauce for about another 20 minutes. I tasted the sauce again and it was perfect! I used our hand blender and smoothed out the chunks of vegetable.
I cannot wait to get home from work to finish making dinner! My husband is going to love this!
I had never guessed how easy Cole Slaw was to make. We had already started the BBQ Pork in the crock pot and I wanted slaw to go on our sandwiches. I read quite a few recipes online and decided they were all very close to being the same. I pulled out the head of cabbage from the fridge and chopped off a chunk. You can slice it to your desired thickness, but I put ours through the food processor. We ended up with about 2 cups of shredded cabbage. I grabbed a small carrot and peeled it. I cut the carrot into smaller chunks and pulsed it in the food processor as well. All in all, we used about 1/4 cup of Hellman's Mayonnaise, Salt and Pepper, 1 tablespoon of sugar, 2 cups of shredded cabbage, 1 small carrot shredded and 1/8 cup of apple cider vinegar. Voilà! Easy, delicious, homemade slaw! Serve it with some Homemade BBQ Pulled Pork in the Crock Pot and call it a day!
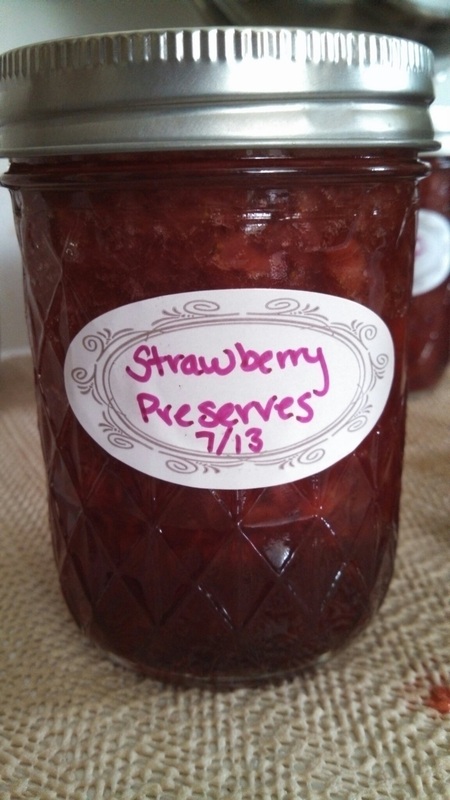
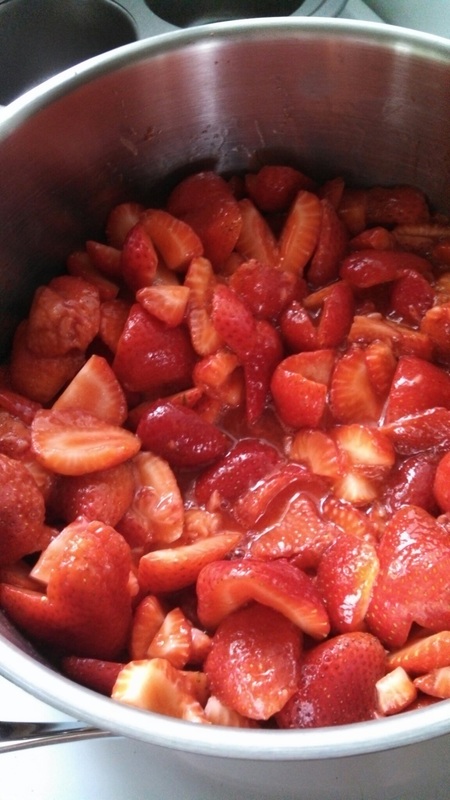
I love strawberry preserves! When strawberries went on sale, I knew this was my calling to finally give it a shot and try my hand at canning. I read dozens of articles and finally decided to pull a little from each and make my own recipe. I started out by hulling 4 lbs of strawberries. After that, I juiced 2 large lemons and got just under 1 cup of lemon juice. I put the hulled strawberries and lemon juice on the stove in a large stock pot. After about ten minutes of medium heat, I could see the magic happening. I placed a small plate in the freezer. I know, sounds crazy but it helped later. I used a potato mashed to help mash the strawberries to release their natural pectin. Once there was a good bit of liquid from the fruit, I used 4 cups of sugar as sweetener. I let it boil for about ten minutes.

Making Strawberry Preserves
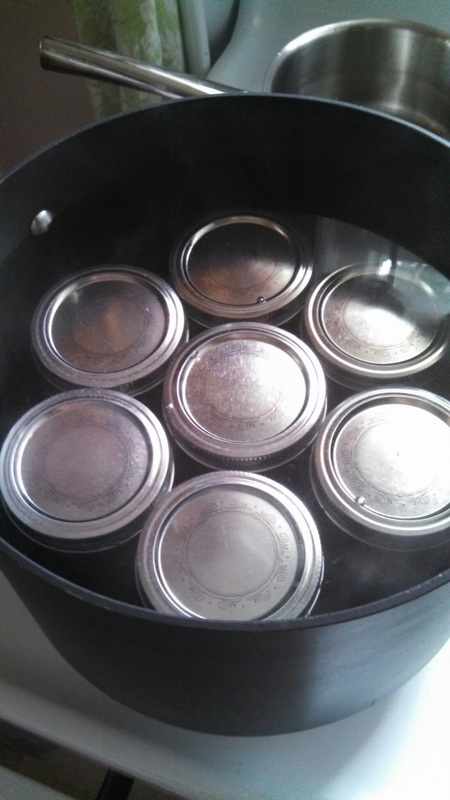
After that, I reduced the heat and let the strawberries simmer while I lined up my canning supplies. I put the metal lids in a small soup pan and cover them with water. I put them on the back burner on a low heat; enough to warm them but never get near boiling.
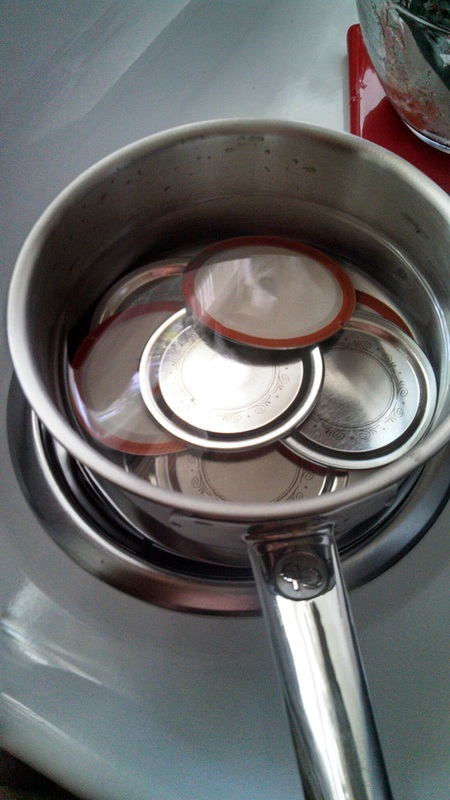
warmed lids for canning
I started my large stock pot with water and lined up my heated jars. After that was all ready, I took a spoonful of my preserves and set it on the plate in the freezer. I checked it in 5 minutes to see how my preserves would eventually turn out. Man, they tasted amazing! However, it wasn't quite at the thickness I was hoping for. I let my strawberries reduce for about a half hour longer and tested them again. Much better. I used a canning funnel to pour my preserves into my clean, warmed jars. I used the magnetic wand to lift the lids from the hot water and place them on each jar. Next, I tightened the metal bands like a normal jar. I used the heat resistant jar-grabbers to lower the jars into the stock pot of warmed water. Make sure the jar lids are covered in water at least 1 inch deep. I turned the heat to high and let the water boil for ten to fifteen minutes. I used the jar-grabber again and set these jars on the counter to cool. Within five minutes, I could hear the seals popping! I was ecstatic! I had successfully made 9 jars of strawberry preserves!
I cannot wait for them to cool! Better yet, I cannot wait to can again!
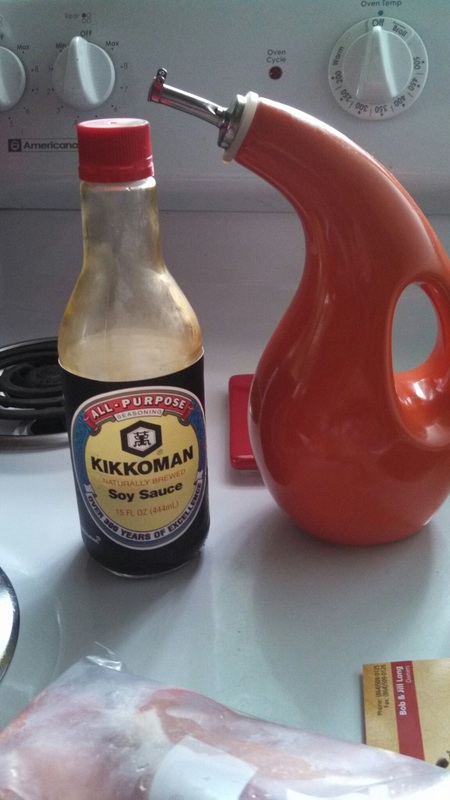
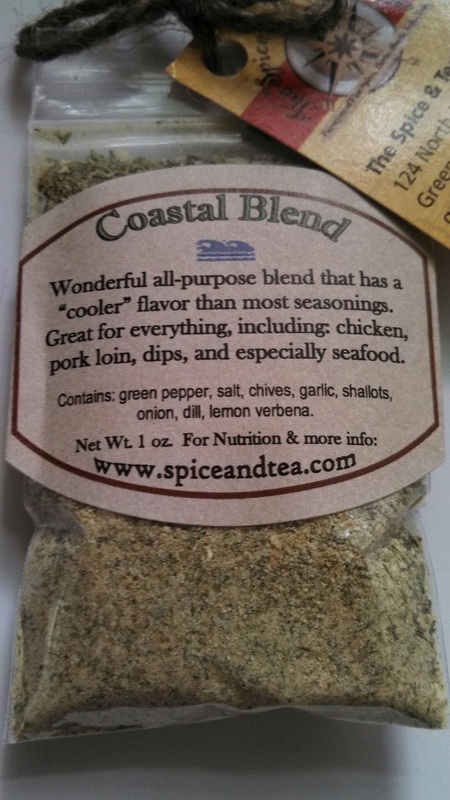
Just an easy, no fail marinade that is in almost any kitchen, Soy sauce and oil (we use olive oil). I had never heard of this until about three years ago. I tried it fearing that I would ruin my dinner. I usually use about 1/2 cup of each and add in garlic and any seasonings that I'm craving. When I first made this marinade, I expected it to come out tasting like Chinese food but that's far from the case. Today I added a Costal Seasoning Packet from The Tea and Spice Exchange. I have mainly used the soy sauce/olive oil combo on chicken but today I'm trying it with Pork chops:) This will marinate for about six hours while I am at work. I am excited to try this new blend of spices!
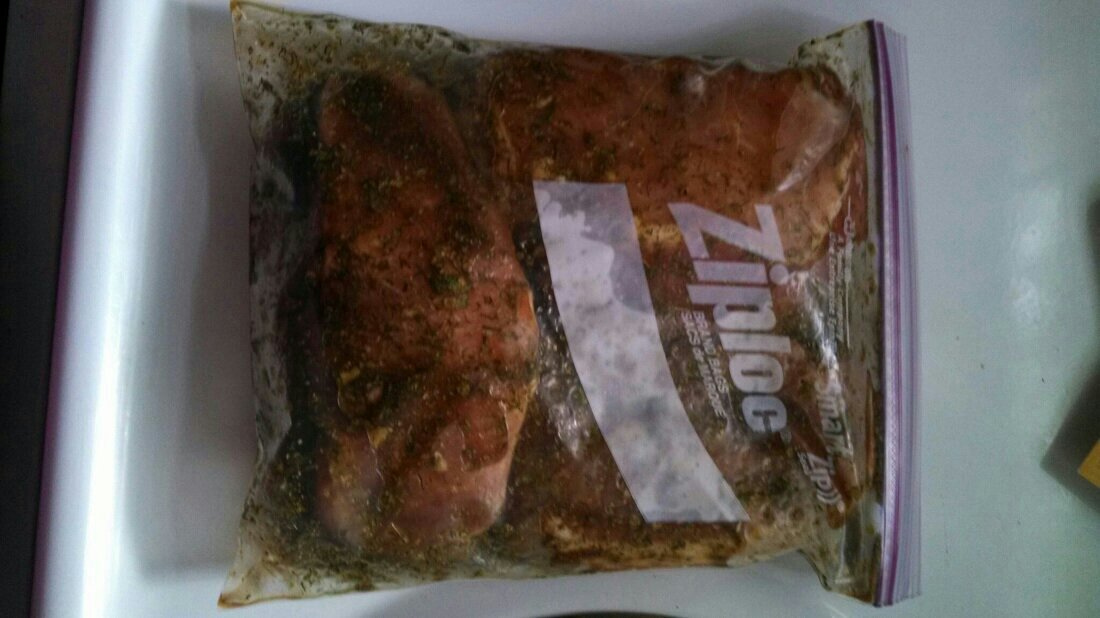
marinating the chops
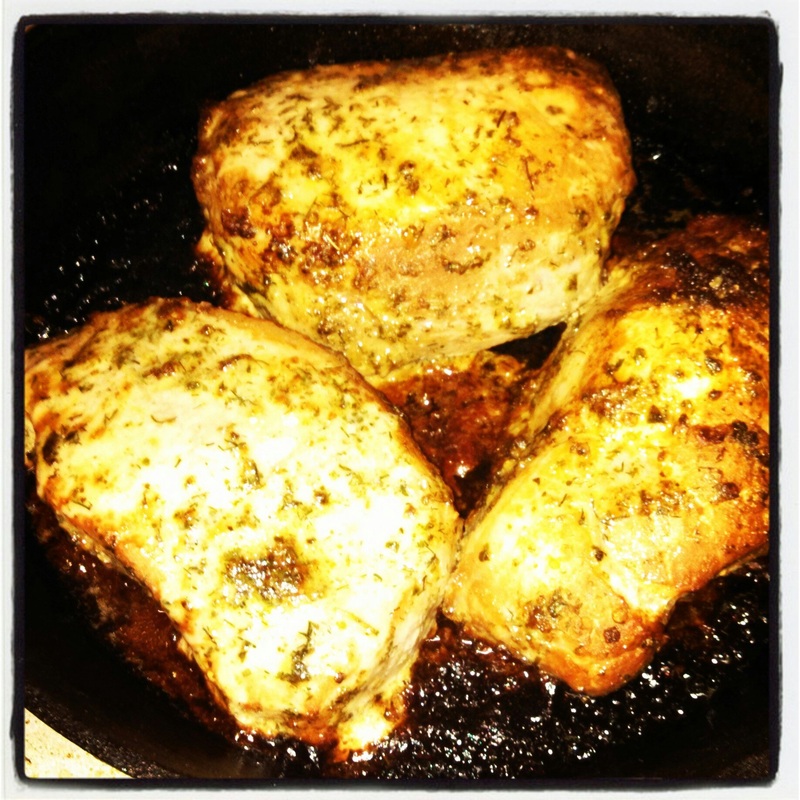
This is the final product! They came out incredibly moist and tender. This is definitely going on our favorites list!
July 3, 2013 During No Spend July, I have been looking for chores to tackle around the house that probably have been neglected with our busy schedules. I have been trying to DEEP clean, organize and pick out items to donate that we no longer use or need. I began the deep clean in our Kitchen because that's where most of our meals come from, in my opinion probably the second most important room in any house (second to a bathroom of course!) Now, let's talk about that oven! To say its been neglected, would be a joke. We moved into our house in October.. I am just now tackling the oven in July?!? Good thing this isn't the 50's because I'd be shunned by society! I had just finished making a batch of homemade BBQ sauce. As I was setting my Boston butt into the BBQ sauce to marinate, I thought to myself; the BBQ will be in the crock pot all day tomorrow, we won't need the oven for anything....the thought passed as I finished cleaning up the kitchen and went to bed. I laid in bed wide awake for the next hour. Of course, like any DIY diva, I turned to Pinterest to help occupy my time. It was like my oven was haunting me! I eventually gave in and started reading the natural ways to clean an oven. Somewhere in the twists and turns, I then ended up on YouTube watching videos on how to clean your oven. I was so amped, I got out of bed in the middle of the night to start my adventure! First, I began gathering all of the different supplies they had used: Kitchen Rags, Spatula, Hot water, white vinegar (I would guess any vinegar would work), lemon Juice, and Baking Soda-well durn. There goes that idea! I had used the end of my baking soda earlier to clean the kitchen floor. Back to the drawing board a.k.a. Pinterest.I stumbled onto a European website that was cleaning the oven naturally also, but they had a different trick. Washing soda. I've never heard of using washing soda like that before. I figured they are both made by arm and hammer, they are both bases, chemically speaking, why not give it a try? Plus, my husband had already questioned my sanity once that night when I mentioned running to the store to grab baking soda. And I wanted to clean the oven! I grabbed the washing soda, and next to it was our borax 20 mule. I read the back of the box quickly and one of the suggested uses was on kitchen appliances. Welp, I'll try some of that too! Next, I started by making a paste. The borax, washing soda and lemon juice didn't react well together, they solidified very quickly and that wasn't quite what I was looking for. I changed my mind and used the washing soda, borax and white vinegar. I really wish I had taken photos! I didn't think that my stab in the dark would be this successful!I proceeded to coat the oven in my mixture. Once that was done, I decided to pour a little lemon juice on the extra crunchy parts for good measure. I was satisfied! I closed the oven, turned off the kitchen light and headed to bed to let the paste work its magic. The next morning, I ditched my daily routine. I got up, fed the dogs, got them outside to play and went to work on the oven! I noticed the paste had dried pretty hard. I decided the best way to loosen it up, was to add a touch of vinegar to the area I was working on. It did the trick perfectly. I grabbed the spatula and chipped away. Slowly, but surely, I was seeing my brand new oven! As I completed each area, I'd soak a rag in steamy hot water and wipe down the gunk. It required a lot of hot water, rag ring-outs, and elbow grease but our oven looks like a whole different oven! I'm not going to sugar coat it. When I say it took elbow grease, I ended up scrubbing for two days. Mainly, because I still had my daily chores to do and I had to go to work, but I'm thankful I took my time and did it right. Now the younger me, she would have got about halfway through and just rinsed the rest of the oven and said to hell with it. I remember using a spray on love cleaner in my very first apartment... I don't believe we used that oven eve again. The smell of that cleaner just lingered in it forever.It might seem illogical to you, but I wonder if the smell is still present how many of those chemicals are still in your oven? Does it contaminate your food? How could it not? I am glad for whatever came over me that night! I don't think I would have ever known how naturally and easy it was to clean an oven. No lingering smells, no harmful chemicals, and certainly no more smoke detectors going off! Now, to have friends over and make them look at my oven! Haha! OK, maybe that's a little crazy! I'm just proud:)Do you have a self cleaning oven? Love it or Hate it? Is borax safe?I have read where people cover the bottom of their oven with tin foil to make clean ups quick? Is this worth it to you? Have you noticed if it changes the way your food cooks? Feel free to leave a comment or shoot me an email! Happy Scrubbing!
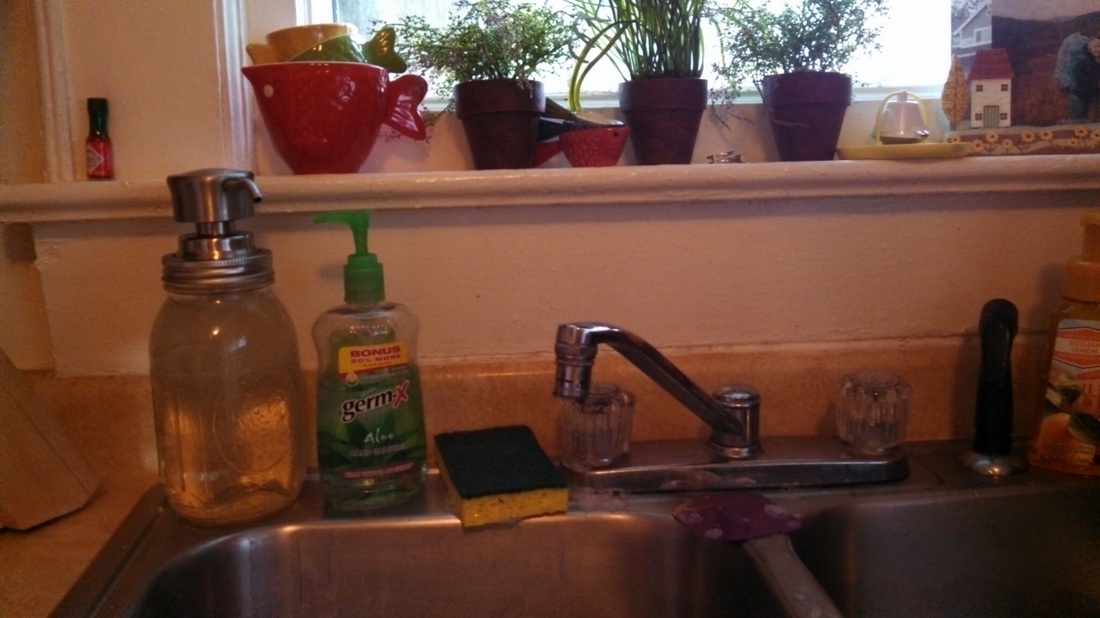
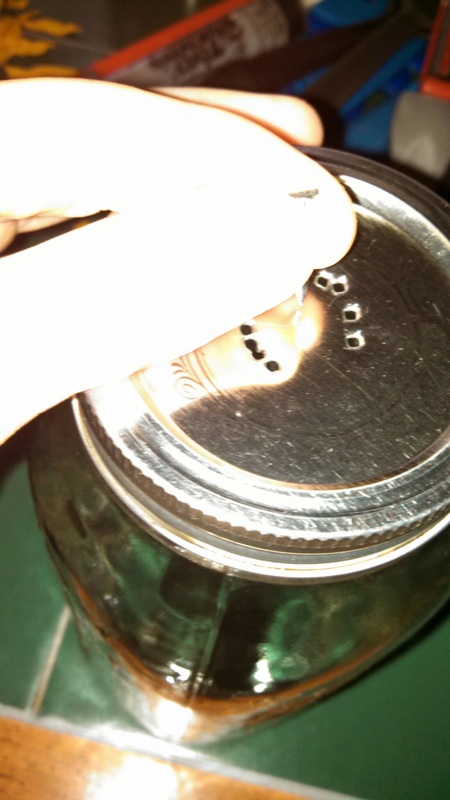
I just love the look of Mason Jars. It adds a bit of southern charm to anything. Our store-bought soap dispenser had began to leak and we were in the midst of a No Spend Month. First, I began by gathering the supplies I thought I would need. I grabbed a mason jar with its lid, a hammer, a nail, E600 glue and our old soap pump.
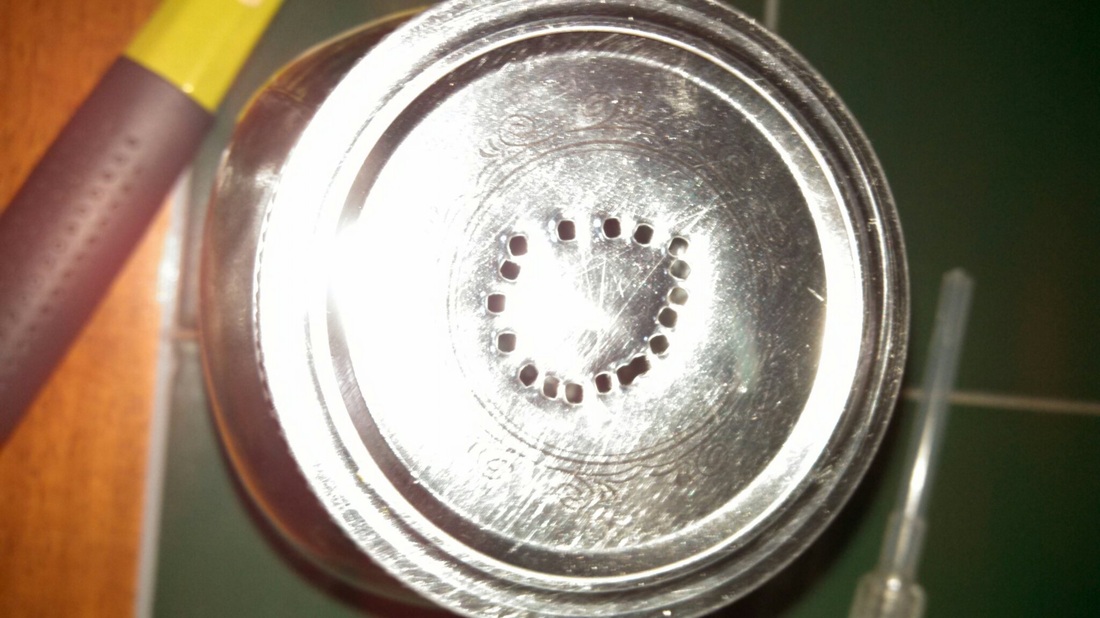
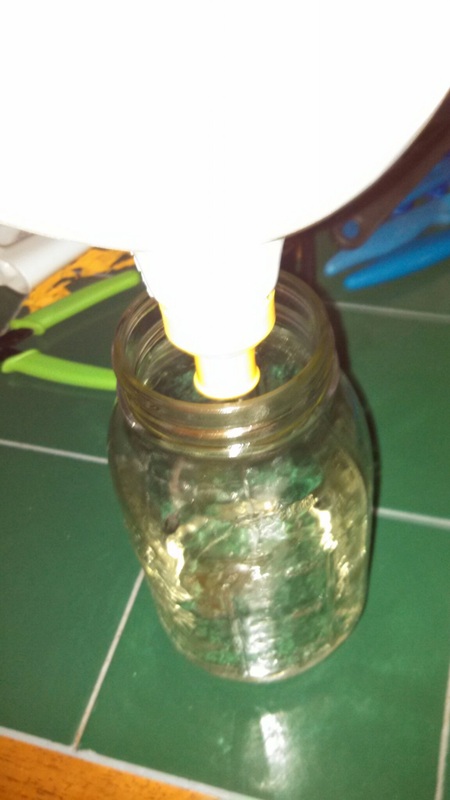
I measured the circumstance of the old soap pump and started making holes in the lid with the hammer and nail. It didn't come out exactly perfect, but it worked!I thought for sure that I would need glue to hold the pump to the lid. The "teeth" that the nail holes make hold it very well. I filled it with soap and voilà! Instant soap dispenser!
|


 RSS Feed